Photeeq lens flare is a special tool for your photos. It helps you add light effects that look real. Many people use it to make their pictures look like movies. This guide will help you understand it well. You will learn how to use it and why it is great for your work.
What is Photeeq lens flare?
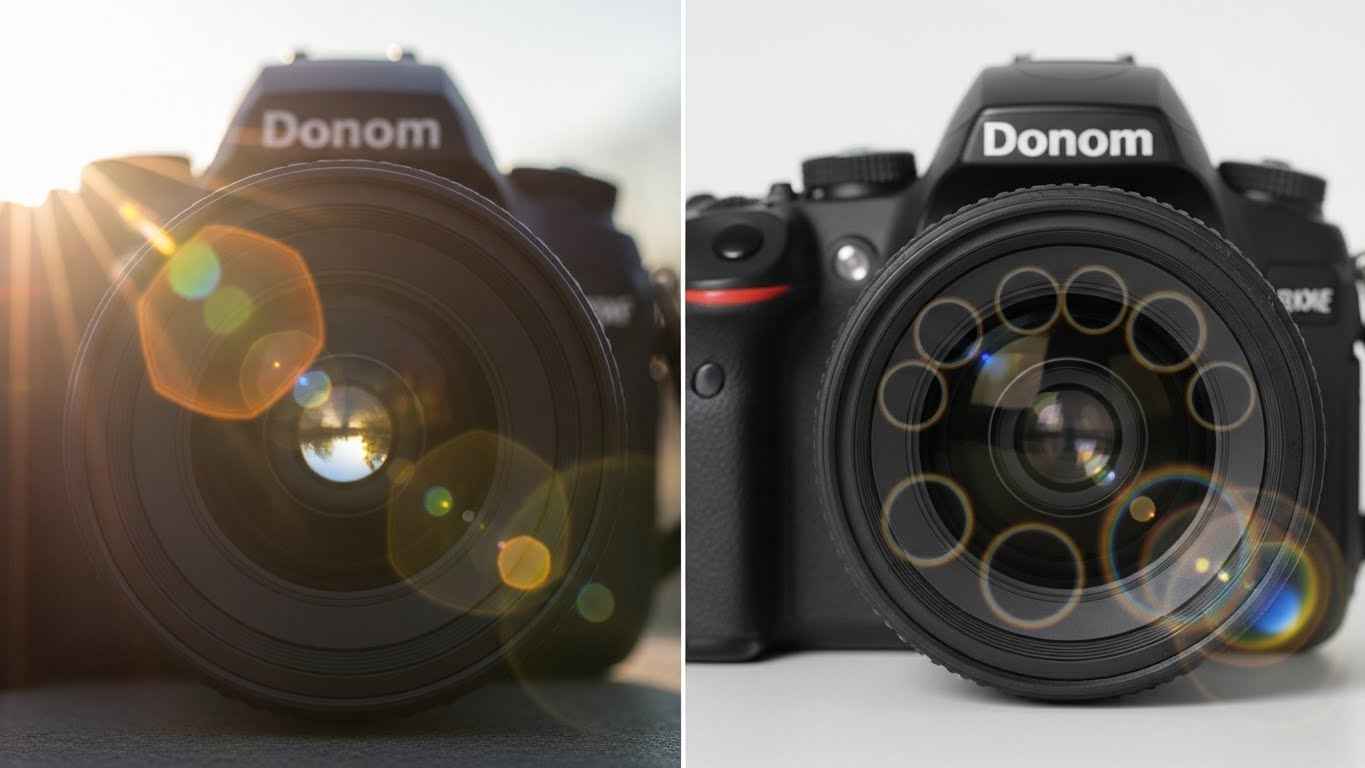
Photeeq lens flare is a digital effect. It mimics how light bounces inside a camera lens. In real life, this happens when you point a camera at the sun. Light scatters and creates bright spots or circles. Photeeq makes this happen with software.
This tool works as a plugin. You can use it inside other apps like Photoshop. It gives you control over every part of the light. You can change where the light sits. You can also change its color and brightness. It is helpful because you do not have to wait for the perfect sun. You can create the sun yourself.
How light works in a camera
To use Photeeq lens flare well, you should know about real light. Real lens flare happens when light hits the glass elements. Most lenses have many pieces of glass inside. Light reflects between these pieces. This creates artifacts on the image.
There are three main types of flare in the real world:
- Veiling Flare: This makes the whole photo look hazy. It lowers the contrast and makes dark areas look grey.
- Ghosting Flare: These are the small circles or shapes you see. They follow a line from the light source.
- Sensor Flare: This is a modern type of flare. It happens when light bounces off the digital sensor back into the lens.
Key features of Photeeq lens flare
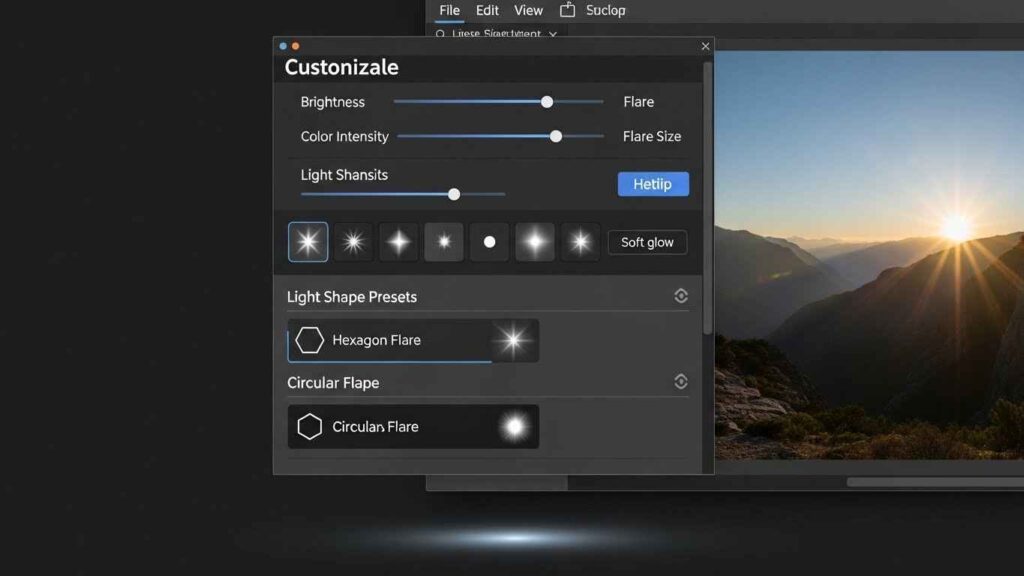
Photeeq lens flare is popular because it has many settings. It is not just one simple filter. It is a full system for light.
Custom light shapes
Every lens creates a different shape. Some make circles and others make hexagons. This depends on the blades inside the lens. Photeeq lets you pick these shapes. You can choose a vintage look or a modern look. This helps the flare match the lens you used for the photo.

Realistic light scattering
The tool does not just put a bright spot on the photo. It blends the light into the colors of the image. It uses smart math to see where the shadows are. This makes the flare look like it was there when you took the shot. It feels organic and soft.
Non-destructive editing
This is a very important part of the tool. When you add a flare, it does not ruin your original file. It works on a separate layer. You can turn it off or change it later. You do not have to worry about making a mistake. Your base photo stays safe.
Why professionals use Photeeq lens flare
Many top photographers use this tool. They use it because it saves time. In the past, you had to stand in the sun for hours. You had to hope the light hit the lens just right. Now, you can take a clean photo and add the art later.
It also helps with storytelling. A warm flare can make a photo feel happy or romantic. A sharp blue flare can make a photo feel cold or high-tech. Photeeq gives you the power to choose the mood. It turns a boring photo into a piece of art.
Step by step guide to using the tool
Using Photeeq lens flare is easy once you know the steps. Here is how you can do it.
- Open your photo: Start by loading your image into your editing app.
- Create a new layer: Always put your flare on its own layer. This keeps things clean.
- Launch Photeeq: Find the plugin in your filter menu and open it.
- Pick a light source: Click on the screen where you want the sun to be.
- Choose a preset: Pick a flare style that fits your photo.
- Adjust the size: Use the sliders to make the flare bigger or smaller.
- Change the color: Match the color to the time of day. Use orange for sunsets and white for noon.
- Apply and blend: Hit okay and set the layer mode to “Screen” or “Linear Dodge.”
Tips for a natural look
A common mistake is making the flare too bright. If it is too strong, it looks fake. Here are some tips to keep it looking real.
- Follow the light: Make sure your flare comes from the same side as the real light in the photo. Look at the shadows to find the right spot.
- Lower the opacity: Usually, 100% is too much. Try lowering it to 50% or even 30%.
- Add some blur: Real flares are often a little bit blurry. Use a Gaussian blur tool to soften the edges of your digital flare.
- Match the grain: If your photo has a little bit of noise, add some to the flare too. This makes them look like one piece.
Photeeq vs other editing tools
There are many ways to get a lens flare. Some people use basic Photoshop filters. Others use overlays they find online. Photeeq is better because it is more flexible.
Basic filters are often “stuck.” You cannot move the pieces around easily. Overlays are just pictures of light. You cannot change their shape or internal parts. Photeeq is a generator. It builds the flare from scratch based on what you want. This makes it much more powerful than a simple overlay.
How to avoid flare in real life
Sometimes you do not want a flare. You might want a very sharp and clean photo. If you are not using Photeeq and want to stop real flare, follow these steps.
- Use a lens hood: This is a plastic piece that sits on the front of your lens. It blocks light from hitting the glass from the side.
- Check your filters: Cheap UV filters often cause extra flare. Take them off if you see unwanted spots.
- Clean your glass: Fingerprints and dust make light scatter more. A clean lens has less flare.
- Change your angle: Sometimes moving just one inch to the left can hide the sun behind a tree.
Technical requirements for Photeeq
To run Photeeq lens flare smoothly, you need a decent computer. It uses your graphics card to show the light in real-time.
- RAM: You should have at least 8GB of RAM.
- Software: It works best with the latest versions of Adobe products.
- Disk space: The plugin itself is small, but it needs room for temporary files.
Common types of light sources
Different lights create different flares. Photeeq lets you simulate all of them.
The Sun
The sun is the most common source. It creates very bright, warm flares. These flares often have long rays and many ghosting circles.
Street lights
At night, street lights create smaller, sharper flares. They are often yellow or blue. These are great for urban or “moody” photography.
Flash and Studio lights
If you work in a studio, your flash can cause flare too. These are usually very clean and white. You can use Photeeq to add these if your studio light was too far away.
You May Also Like: Nathaniel Mandrell Dudney: The Untold Truth You Must Know
Final thoughts on Photeeq lens flare
Photeeq lens flare is a great way to add life to your photos. It gives you creative freedom that was impossible years ago. By understanding how light behaves, you can use this tool to create professional results. Remember to keep it subtle and follow the natural light in your scene. Happy shooting!
Frequently Asked Questions
Is Photeeq lens flare free?
There is often a free trial version. You can try it to see if you like it. The full version usually costs money but offers more features and updates.
Can I use Photeeq on my phone?
Most versions are for desktop computers. However, there are mobile apps that use similar technology for phone editing.
Does Photeeq work with Lightroom?
Yes, you can often use it as an external editor. You send your photo from Lightroom to the plugin and then back again.
Will it slow down my computer?
If you have a very old computer, it might be slow. Modern computers with good graphics cards will run it very fast.
Is lens flare always a good thing?
No, it depends on your goal. For documents or sharp product shots, you should avoid it. For art and portraits, it is often very beautiful.
How do I make the flare look like a star?
You can adjust the “rays” setting in the tool. If you have more rays, it will look like a starburst.
Disclaimer
This article is for informational purposes only. We are not affiliated with Photeeq or any related brand. All opinions are based on research and publicly available information.
This video is relevant because it shows a real-life demonstration of adding professional lens flares during post-production, which matches the techniques discussed in this guide.