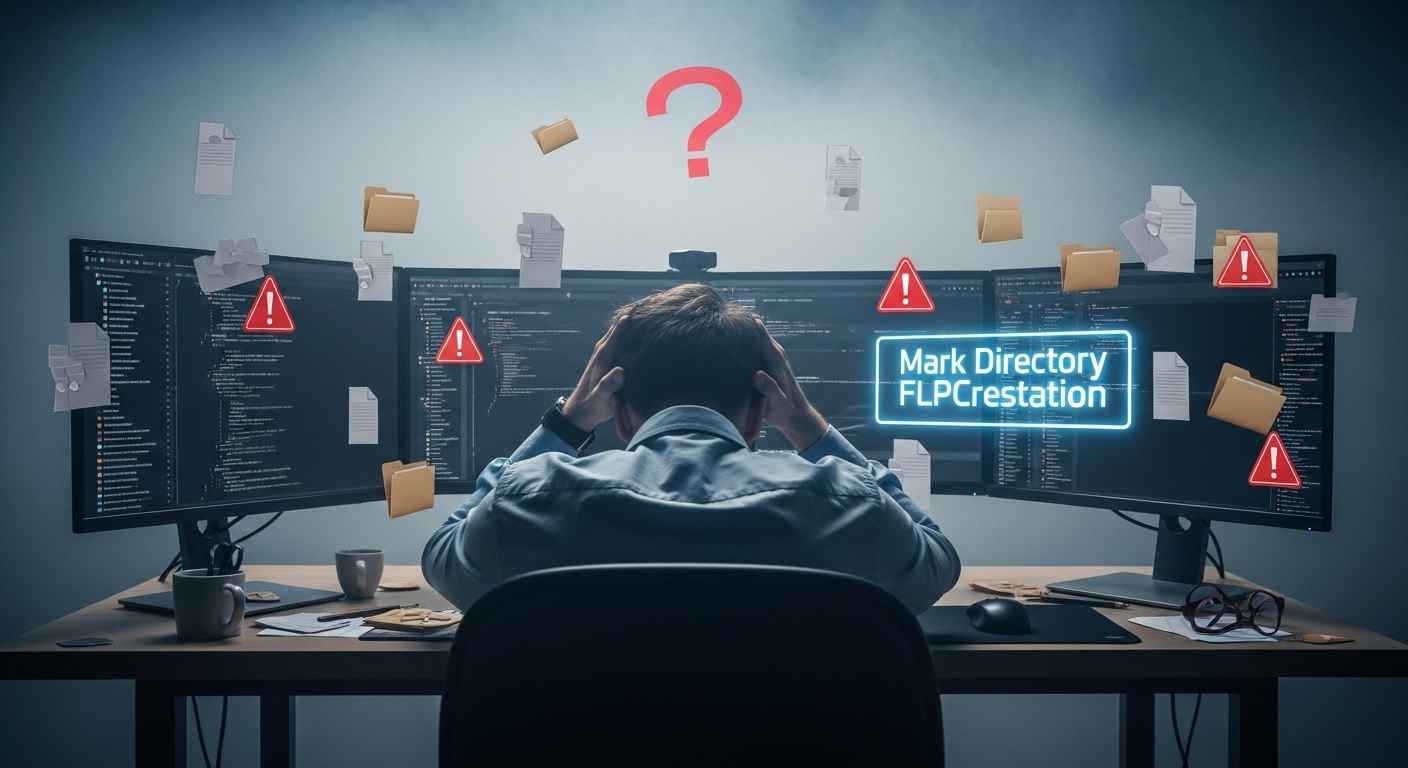
Setting up a digital workspace can feel like wandering through a thick fog. You have your files ready, but your software acts like they do not exist. This common hurdle creates a massive amount of stress for creators and developers alike. You might feel a deep sense of irritation when a “Mark Directory FLPCrestation” setting ruins your workflow. This confusion often stems from the mysterious “FLPCrestation” term that pops up in specific technical environments. If you are struggling to make your folders talk to your programs, you are not alone.
Most users face three main struggles when dealing with these directory settings. First, there is the fear of breaking a project by clicking the wrong option. Second, there is the frustration of “invisible files” that refuse to load in the editor. Third, the complex jargon makes simple tasks feel like high-level rocket science. This guide acts as your mentor to remove that weight from your shoulders. We will turn that technical fog into a clear path toward a perfect project setup.
The goal here is to provide total relief through expert knowledge and simple steps. We will explore how to use folder marking to your advantage. You will learn the hidden logic behind station-based file processing. By the time you finish reading, the “Mark Directory” tool will be your favorite shortcut. Let us dive into the details and fix these common project headaches for good.
The Core Concept of Folder Labeling
Computers are fast, but they are not very smart on their own. They see a folder as just a container of data bits. They do not know if that data is a vital script or a temporary log file. The “Mark Directory” feature is your way of teaching the computer. You are essentially giving the software a map of your house. Without this map, the software wanders around every room, getting lost and wasting energy.
When you label a folder, you change how the system interacts with it. This process is called “index management” in technical circles. It means the software creates a quick-reference list of what is inside. If you label a folder correctly, the software finds what it needs in milliseconds. If you skip this step, the software might ignore your most important work entirely. This simple labeling act is the foundation of a stable and fast project.
How Sources Root Changes Everything
Your project’s “brain” usually lives in a specific place. This is where your primary code or logic files stay. In many professional tools, this is called the Sources Root. When you mark a folder as a Sources Root, you are telling the computer to pay close attention. It starts checking for errors and providing helpful suggestions for the files inside.
If you do not mark this correctly, your code might look like plain text. You will lose helpful features like auto-complete or “jump to definition.” This makes working much harder and increases the chance of making a mistake. By marking your source folder, you unlock the full power of your editing tools. It is like turning on the lights in a dark room; suddenly, everything becomes easy to see and fix.
Managing Your Assets as Resource Roots
Projects often need more than just raw logic to function. You might have high-quality photos, sound effects, or configuration data. These are known as resources. If you keep these in a standard folder, the computer might struggle to link them to your code. This leads to the dreaded “File Not Found” error that haunts so many users.
Marking a folder as a Resource Root solves this problem instantly. It creates a direct shortcut for the computer to grab those files. You no longer have to type out long, complicated file paths. You can just use the file name, and the system knows exactly where to look. This organization keeps your project clean and professional. It also makes it much easier to share your work with others without breaking all the links.
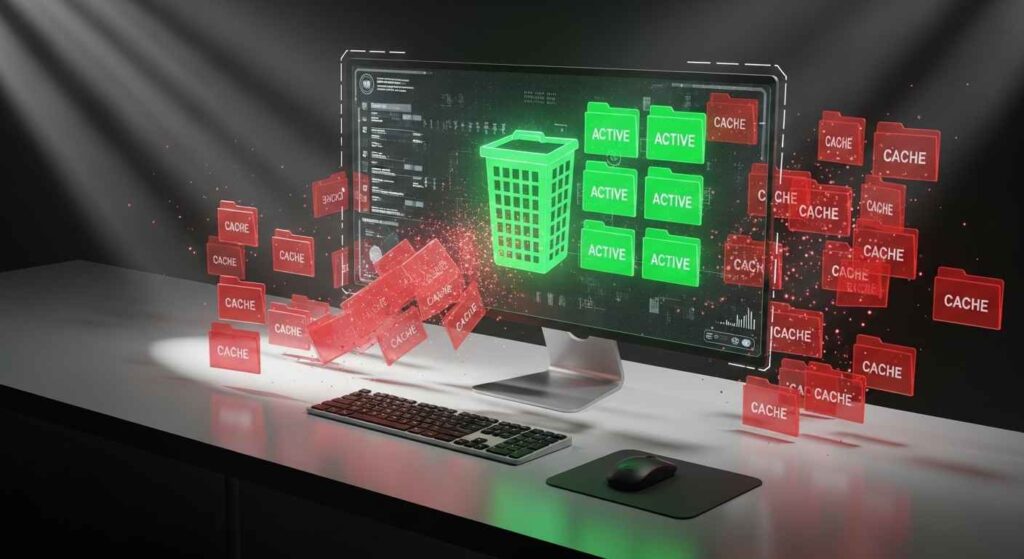
Speed Up Your System with Excluded Folders
One of the biggest pain points for any creator is a slow, lagging computer. This often happens because the software is trying to track too much data at once. Many projects have “junk” folders, such as temporary cache files or huge library folders. If the software tries to index these, your computer will start to crawl.
The “Excluded” mark is the ultimate solution for performance issues. By excluding a directory, you tell the program to ignore it completely during searches. The files stay safe on your hard drive, but the software stops “looking” at them. This reduces the load on your computer’s memory and processor. Your searches will become instant, and your software will feel snappy again. It is a simple trick that provides immediate relief to anyone working on a large project.
Decoding the Meaning of Mark Directory FLPCrestation
The term FLPCrestation is often linked to specialized “File Level Processing” stations. In professional workflows, a “station” is a dedicated environment where data is transformed. This could be a place where raw code is turned into an app or where images are optimized. Understanding this helps you see why directory marking is so vital.
A processing station needs a very specific input and output path. If the directory is not “marked” as a recognizable station point, the automation will fail. This is why some users feel like they are hitting a wall. They have the right files, but the “station” does not recognize the folder as a valid source. By aligning your directory marks with the station’s needs, you create a smooth, automated pipeline.
The Emotional Journey of File Management
It is okay to feel confused by these settings at first. Technology is built in layers, and sometimes those layers feel heavy. Most people feel a sense of “imposter syndrome” when they can’t find a simple folder setting. They think they are not “tech-savvy” enough to handle the task. But the truth is that these menus are often poorly designed and hard to find.

The relief comes when you realize that these tools are just tools. They are there to serve you, not the other way around. Once you master the “Mark Directory” logic, your confidence will grow. You will stop fearing the settings menu and start using it to customize your experience. This mastery turns a source of stress into a source of pride. You are no longer just a user; you are a manager of your digital world.
Why Technical Debt Starts with Messy Folders
“Technical debt” is a fancy way of saying “problems you have to fix later.” If you do not organize your directories today, you will pay for it tomorrow. Imagine trying to find a specific file in a project with no labels. You will waste minutes, then hours, searching through identical-looking folders. This is a major drain on your creativity and energy.
By using folder marks, you are investing in your future self. You are creating a structure that is easy to navigate even months from now. When you return to an old project, you will know exactly where the “brain” is and where the “assets” are. This clarity prevents the frustration of starting over because a project became too messy to handle. Good directory management is the best gift you can give your future career.
Enhancing Collaboration Through Better Structure
If you ever work with a team, your directory structure becomes even more important. Other people do not have your mental map of the project. They rely on the “Mark Directory” settings to understand how the project works. If they open your project and see no marked roots, they will be lost and confused.
A well-marked project is like a well-signed highway. It allows teammates to jump in and start contributing immediately. They can see what is “Source,” what is “Test,” and what is “Excluded” at a single glance. This professional touch builds your reputation as an expert. It shows that you care about quality and that you understand how to work in a modern environment.
The Role of Test Sources in Quality Control
Testing is a vital part of any successful project. You need a safe space to “break” things without ruining your main work. This is why most advanced tools offer a Test Sources mark. This tells the computer that the files in this folder are for practice or verification only. They should not be part of the final version of your project.
Using a dedicated test directory keeps your main code clean and “production-ready.” It also prevents test data from accidentally leaking into your final product. This separation is a hallmark of an expert creator. It shows you have a plan for quality and a way to prove that your work actually functions as intended.
Reversing Common Errors in Directory Marking
Mistakes happen to everyone, even the experts. You might accidentally mark your entire project as “Excluded” and see everything vanish. Or you might mark a data folder as a “Sources Root” and get hundreds of confusing error messages. The key is not to panic when the screen turns red or gray.
Every marking action is reversible. You can always right-click and choose to “Unmark” or change the status. Think of these marks as digital sticky notes. You can peel them off and move them whenever you want. The underlying files are never harmed by these settings. Understanding this “safety net” allows you to experiment with different structures until you find the one that feels right for you.
Using White Space and Organization for Focus
A cluttered directory tree is a distracted mind. When you see fifty folders in a row, your brain has to work harder to filter them. This leads to “decision fatigue,” where you get tired just by looking at your screen. By using “Excluded” marks for things you don’t need to see, you clean up your visual workspace.
This “digital cleaning” is just as important as cleaning your physical desk. It allows you to focus on the task at hand without being distracted by background noise. A focused mind is a productive mind. When you open your editor and see only the folders you need, you will feel a sense of calm and readiness. This is the ultimate goal of the “Mark Directory” system.
Troubleshooting the FLPCrestation Access
If you are specifically trying to unlock access to a station-based directory, start with the permissions. Sometimes, the “Mark Directory” options are grayed out because you do not have “admin” rights. This is a common pain point in office environments. If you cannot change a setting, check if another program is currently using that folder.
Another common issue is “path nesting.” This happens when you try to mark a folder that is inside another marked folder. Most software prefers a flat, clear hierarchy. If you get an error, try unmarking the “parent” folder first. Then, mark only the specific “child” folder you need. This direct approach usually clears up the communication between the software and your hard drive.
The Future of Automated Directory Handling
Technology is moving toward “smart” directories that label themselves. Some modern editors use artificial intelligence to guess which folder is your source root. However, these guesses are not always perfect. As an expert, you should always know how to override these automatic settings.
Your manual “Mark Directory” choices will always be more accurate than an algorithm’s guess. You know the intent and the soul of your project. By taking control of these settings, you ensure that the machine is working for you. You remain the master of the “FLPCrestation” workflow, guiding the tools to the exact results you want.
Standardizing Your Workflow for Every Project
Once you find a directory structure that works, stick to it. Consistency is the secret weapon of high achievers. If every project you build has the same “Source,” “Resource,” and “Excluded” setup, you will never be confused again. Your brain will develop a “muscle memory” for where files belong.
This standardization also makes your life easier when you switch between different tools. Most professional software uses similar “Mark Directory” logic. Once you learn it in one place, you have learned it everywhere. This universal knowledge makes you a more versatile and valuable professional in any field.
You May Also Like: 18664695427 Explained: Is This Number Legit or a Hidden Scam?
Does marking a directory improve my computer’s speed
Yes, it can significantly improve performance, especially when using the “Excluded” mark. When you exclude large folders that do not contain code, the software stops wasting memory on them. This frees up resources for the tasks you are actually working on, making the entire experience smoother.
The journey through “Mark Directory FLPCrestation” and “FLPCrestation” is really a journey toward better habits. You have learned that the computer needs your guidance to be effective. You have the tools to label your work, hide your junk, and speed up your system. The stress of the “unknown setting” is now gone, replaced by the confidence of an expert.
Take a moment to look at your current project. Is it messy? Are the folders unlabelled? Now you have the power to fix it. Start by marking your source root and excluding your cache folders. You will feel the difference in speed and clarity immediately. You are now the master of your digital environment, ready to create without limits.
Common Questions About Mark Directory
How do I find the Mark Directory FLPCrestation menu in my software
You can usually find this by right-clicking on any folder in your project sidebar. A menu will appear with an option like “Mark Directory As.” If you do not see it, ensure you are clicking a folder and not a file. Some programs also hide this under a “File” or “Project Structure” menu at the top.
Can marking a directory as excluded delete my files
No, marking a folder as “Excluded” never deletes any data. It simply tells the software to ignore those files during searches and indexing. Your files remain safe on your hard drive. You can “Unmark” the folder at any time to make the files visible to the software again.
What is the difference between Sources and Test Sources
A Sources Root is for the main code that makes your project run. A Test Sources Root is for the code used to check for bugs or errors. Separating them keeps your project organized. It ensures that your testing tools do not interfere with your actual finished product.
Why are some folder marks shown in different colors
Most editors use colors like blue for sources, green for tests, and red or gray for excluded folders. These visual cues help you scan your project quickly. They allow you to see the “job” of every folder without having to read any labels. It is a way to help your brain process the structure faster.
Disclaimer
The information provided in this article regarding Mark Directory and FLPCrestation is for educational and informational purposes only. While we strive for 100% accuracy, software updates can change menu locations or features. We are not responsible for any data loss or system errors that occur from modifying your project settings. Always back up your files before changing directory marks. Use this expert guide at your own risk as a helpful resource for project organization.